Secure Notes
Watch the video: Creating Secure Notes
The Secure Notes feature in GhostVolt provides an area to type rich text notes to store any information you like behind the same encryption used for all your files and folders.
Secure Notes are available to Solo users, and Business users can enjoy some extra features like sharing and special permissions.
Creating a secure note
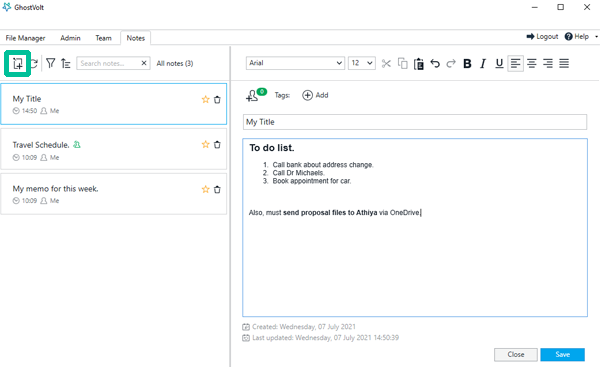
In the Notes window select Add new secure note in the top left.
Now you can create the note title and body. The body text can be formatted using the options in the top toolbar, including Undo/Redo and bullet list options. You can also choose any font on your system and edit the size. Once you're done click Save in the bottom right.
Managing your notes
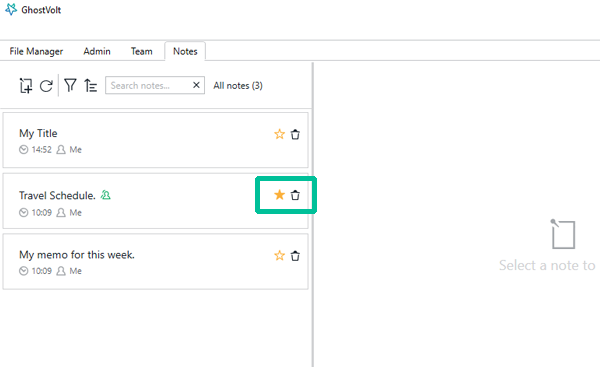
Now your new note will appear in the notes card list on the left, with the title, date and options to delete or mark as favourite.

In the top toolbar you can also: search your notes; sort by title, date created, date updated or by favoruites; refresh the list; or, of course, create another note.
Filter notes is also useful for business users to view All notes, Shared notes and Favourites.
Adding tags to a secure note

- In the Notes window, select a note in the notes list on the left.
- Above your note content and title click Add to create a new tag. You can hit Enter to move on and create another.
You can also click the dropdown arrow, before you type, to choose a tag you've created before. - Once you're done click Save.
- Your new tag will appear at the top of your note and also in the note summary card on the left.
For more information on Tagging visit the Tagging Files and Content page.
Sharing notes
Business users can share notes with other team members at any time, revoke sharing and view others shared with them, providing they have permission. For more information on user permissions see the Feature access section on the Team User Management page.
Share a note
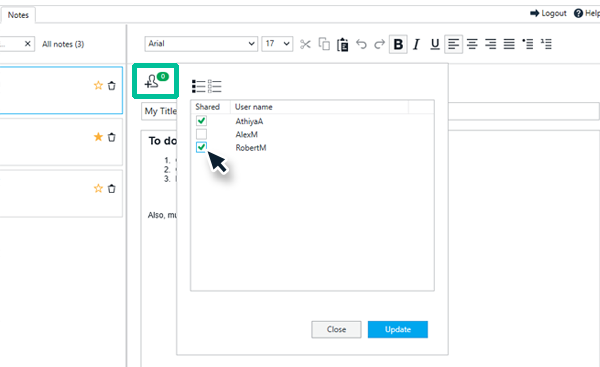
- Select one of your notes in the note card list on the left.
- Above your note title click View and add people.
- From the list of users just check or uncheck those you want to share with or revoke sharing.
- Once your done click Update.
Now the green marker shows how many people can read this note.
View authors and status
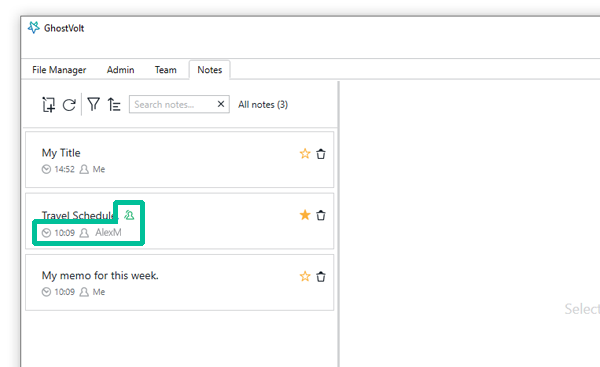
In the notes card list on the left you can also see:
- That a note is shared with others, indicated by the green shared icon near the title.
- The author of the note near the time stamp under the title.